
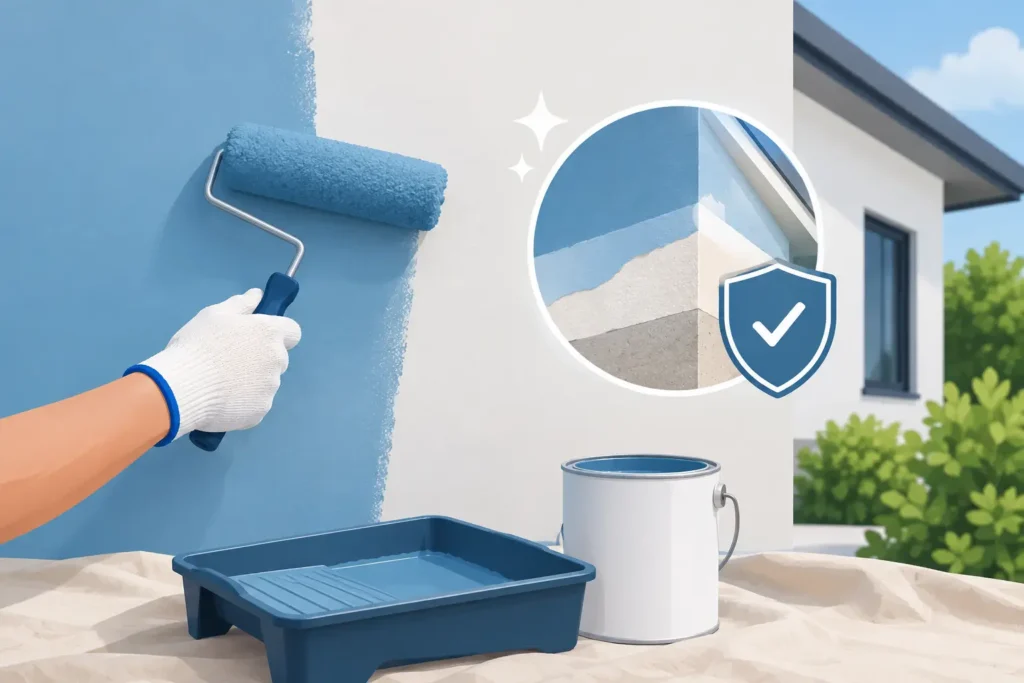
A wall can look freshly painted on handover day and begin lifting at the corners a few months later. In most cases, the problem is not simply “bad paint.” To know how to prevent paint peeling, you need to control what is underneath the finish: moisture, surface contamination, loose old coatings, poor repairs, and rushed drying time.
For Singapore homes, this matters even more. Humidity, wind-driven rain, condensation from air-conditioning, bathroom steam, and occasional plumbing leaks all place pressure on painted surfaces. A proper paint job is a system, not a quick color change. The wall must be dry, sound, sealed, and coated with products suited to the room and surface.
Why Paint Peels in the First Place
Paint peels when it loses adhesion. The coating can no longer hold on to the surface beneath it, so it bubbles, flakes, cracks, or comes away in sheets. Sometimes the failure happens between the wall and primer. Other times, a new coat separates from an older layer that was never properly cleaned or stabilized.
Water is the most common cause. A damp wall can push moisture vapor behind paint, while an active leak can soak the plaster or drywall directly. Exterior walls may absorb rainwater through hairline cracks, failed sealant, or porous render. Inside, bathrooms, kitchens, laundry areas, and rooms with cold air-conditioned walls are common trouble spots.
Preparation failures are equally common. Painting over dust, grease, chalky residue, mold, soap film, or unstable old paint may look acceptable at first. Once the wall expands, contracts, or becomes damp, the weak layer gives way. Applying paint too thickly, skipping primer, or recoating before the prior coat has dried can create the same result.
Step 1: Find and Fix the Moisture Source
Do not paint over peeling areas until you know why they failed. Scraping and repainting a damp wall only covers the symptom. The peeling is likely to return, often larger than before.
Look for water stains, a musty smell, bubbling paint, soft plaster, mold growth, or peeling concentrated around windows, ceilings, pipe boxes, and exterior-facing walls. In a condo or HDB flat, a ceiling issue may come from the unit above, a concealed pipe, or a waterproofing failure. In landed homes, inspect roof edges, gutters, exterior cracks, window frames, and walls exposed to heavy rain.
A small, old stain that is fully dry may only need stain-blocking primer after repair. An active leak needs a proper repair first. This may involve plumbing work, resealing a window, repairing a roof detail, or addressing exterior waterproofing. Paint is not waterproofing, and no premium paint can permanently overcome water entering behind the wall.
For bathrooms and kitchens, improve ventilation where possible. Run the exhaust fan during and after showers, wipe persistent condensation, and avoid leaving wet towels against painted walls. These simple habits reduce moisture stress on the coating.
Step 2: Remove Every Weak Layer
The biggest mistake in peeling-paint repairs is applying fresh paint directly over loose edges. The new coat bonds to the failing paint instead of the wall, so the repair fails with it.
Start by scraping away all loose, blistered, flaking, or hollow-sounding material. Continue until the surrounding coating feels firmly attached. Feather the edge of the remaining paint with sanding so the repair does not leave a visible ridge after finishing.
If the wall surface is chalky, dusty, greasy, or affected by mildew, clean it before any patching or priming begins. Kitchen walls may need degreasing. Bathroom walls may need mold treatment. Exterior surfaces often need washing to remove dirt, pollutants, and powdery residue. Allow the wall to dry completely afterward.
For extensive peeling, localized touch-ups are rarely the best value. Once a broad area has failed, a contractor may need to strip unstable coatings, apply a bonding or sealer coat, and repaint the full wall for a consistent result. It takes more preparation, but it avoids a patchwork finish and repeated call-backs.
Step 3: Repair Cracks Before They Become Entry Points
Fine cracks are not always structural, but they can let moisture into exterior walls and create a line of failure under interior paint. Treat them before painting, especially around windows, corners, ceilings, and wall junctions.
Hairline cracks can often be opened slightly, filled with a suitable flexible filler, sanded smooth, and sealed. Larger cracks, recurring cracks, or cracks accompanied by dampness deserve closer inspection. The correct repair depends on the substrate, movement in the building, and whether water is entering from outside. A rigid filler in a moving crack can split again quickly.
After patching, let the repaired area dry and cure according to the product requirements. Rushing from filler to paint may trap moisture and leave a dull patch, blister, or future peel. A smooth wall is not necessarily a dry wall.
How to Prevent Paint Peeling With the Right Primer
Primer is not an optional extra when the surface has been repaired, stained, chalky, porous, or previously affected by moisture. Its job is to create a stable bridge between the wall and the finish coat.
Use a suitable sealer or bonding primer for powdery plaster, patchwork repairs, bare areas, and surfaces with uncertain old paint. Use a stain-blocking primer where dried water marks, nicotine stains, or other discoloration may bleed through. For bathrooms, kitchens, and other damp zones, select a coating system designed for moisture resistance and washability.
The product choice depends on the surface. A standard interior wall, a concrete exterior facade, a metal gate, and a timber door should not be treated as if they need the same paint. Exterior coatings need better resistance to sun, rain, and temperature changes. Interior coatings may prioritize low odor, cleanability, or resistance to mildew.
A professional assessment should explain the paint range and why it fits the area. Cheaper paint can be sensible for a low-traffic dry room, but cutting corners on primer or damp-area coatings is usually false economy.
Step 5: Respect Drying Time and Coat Thickness
Fast completion does not mean skipping curing time. Paint must be applied within the manufacturer’s recommended conditions and allowed to dry before recoating. High humidity can slow drying, and a wall that feels dry to the touch may not be ready for the next coat.
Thin, even coats adhere better than one heavy coat. Overloading paint to finish faster can trap solvents or water beneath the surface. That may lead to soft paint, wrinkling, sagging, or poor long-term adhesion.
Plan painting around the condition of the property. If major wet works, tiling, plumbing repairs, or air-conditioning installation are still underway, complete those first whenever possible. Painting should be one of the final stages, after dust-generating and moisture-producing works are finished.
For occupied homes, protect walls from immediate wear after painting. Avoid washing newly painted surfaces too soon, pushing furniture against them, or hanging items before the coating has had time to cure. The exact cure period varies by product and room conditions.
Step 6: Maintain Painted Surfaces Before Damage Spreads
Peeling usually gives early warning. A small bubble near a window, a dark spot on the ceiling, or paint that rubs off as powder should be addressed promptly. Waiting allows water and loose paint to travel farther behind the coating.
Check exterior walls and window areas after prolonged rainy periods. In bathrooms, inspect ceiling corners and areas near shower screens. In air-conditioned bedrooms, watch for recurring condensation behind large furniture placed tightly against exterior walls. Leave a little airflow where possible and investigate persistent damp patches instead of repeatedly touching them up.
When cleaning painted walls, use a soft cloth or sponge with mild cleaning solution. Aggressive scrubbing, abrasive pads, and strong chemicals can damage the finish, especially on lower-grade or recently painted surfaces. If the coating is repeatedly stained or scrubbed, a more washable paint system may be a better long-term choice.
When a Full Repaint Is the Smarter Decision
Spot repair works best when peeling is isolated and the cause has been permanently solved. A full repaint is often more practical when multiple walls are chalky, old paint is failing in several rooms, colors are uneven from past touch-ups, or the property is being prepared for move-in, handover, or tenant turnover.
The benefit is not only appearance. A systematic repaint allows every room to be checked, cracks to be patched, unstable surfaces to be sealed, and the right paint to be used in the right zones. For offices and commercial spaces, coordinating this work in a planned shutdown window can prevent disruption later.
At Painting.com.sg, the process starts with assessing the existing surface condition, not just selecting a color. Proper protection, crack patching, sealing, multi-coat application, cleanup, and final touch-ups are what turn a fast paint job into a finish that holds up.
The most useful rule is simple: never ask paint to solve a wall problem. Stop the moisture, prepare the surface thoroughly, use the correct primer and coating, and give each layer time to dry. That is how walls stay smooth long after the painters have left.
