A fresh coat of paint will not hide a wall crack for long. In many homes, the line looks minor on day one, then reappears weeks later right through the new finish. That is why knowing how to patch hairline cracks walls properly matters. The paint is only as good as the preparation underneath it.
For most interior walls, hairline cracks are cosmetic. They often show up from normal settling, minor movement, shrinking joint compound, or old paint films losing flexibility over time. The good news is that small cracks can usually be repaired cleanly. The catch is that a quick smear of filler over the top is rarely enough if you want the repair to stay invisible.
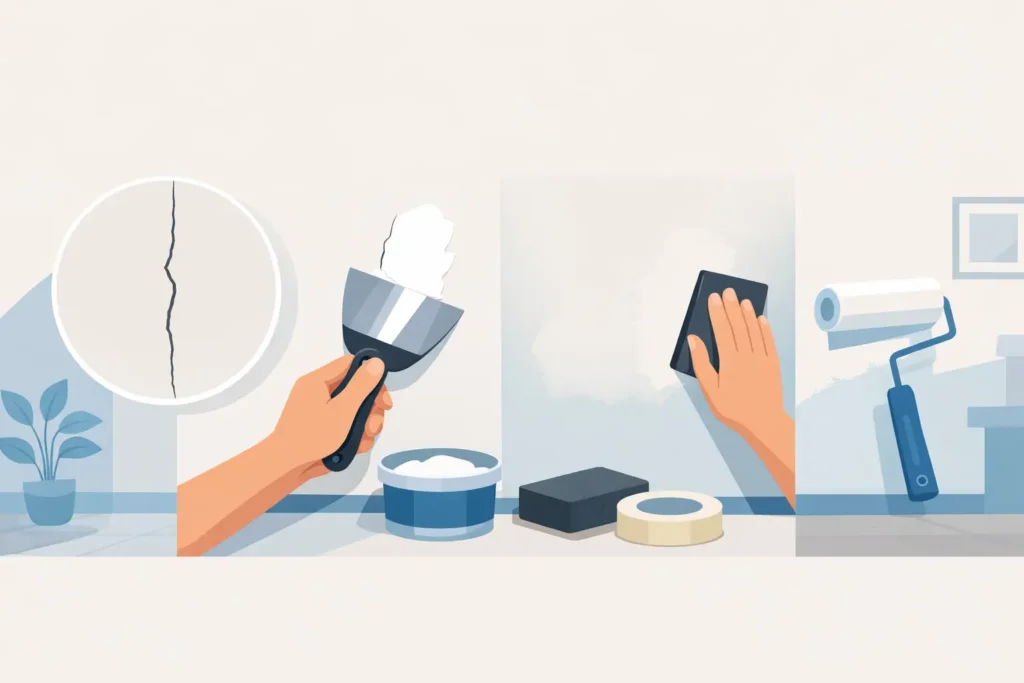
How to patch hairline cracks walls without repeat failure
The right repair depends on what the wall is made of and where the crack sits. A thin crack on painted plaster is handled differently from one running along a drywall joint. In humid rooms, or on walls that have already been patched once, surface prep becomes even more important.
Before you start, check whether the crack is truly hairline. If it is wider than about 1/16 inch, keeps growing, appears near doors and windows that suddenly stick, or comes with water staining, it may be more than a simple paint-prep issue. In that case, patching alone is not the fix.
For a standard cosmetic repair, the process is straightforward and fast when done in the correct order.
Step 1: Inspect the crack, not just the line
Look closely at the entire area, not only the visible split. Press lightly along both sides. If the paint sounds hollow, flakes, or lifts, you need to remove all loose material first. If the crack follows a straight drywall seam, there may be joint movement underneath, which can benefit from mesh or paper tape instead of filler alone.
This is where many DIY repairs go wrong. People treat every crack the same, then wonder why one patch holds and another ghosts back through the paint. The substrate decides the method.
Step 2: Open the crack slightly
It sounds backward, but a hairline crack usually needs to be widened a little before patching. Use a utility knife or painter’s tool to create a shallow V-shape. You are not gouging the wall. You are removing fragile edges and giving the patching compound something solid to grip.
If you skip this step, the filler can sit only on the surface. It may look smooth when dry, but it often fails after a few cleaning cycles, humid days, or normal wall movement.
Step 3: Clean out dust and chalky residue
Once the crack is opened, brush out all dust. A soft brush, dry cloth, or vacuum with a brush attachment works well. On older painted walls, especially if the surface feels chalky, wipe gently so the patch bonds to a clean base.
A patch is only as stable as the surface underneath it. Clean prep saves rework.
Step 4: Apply the right filler
For small hairline cracks, a quality lightweight spackle or fine surface filler is usually enough. For cracks on joints or areas with slight movement, a flexible patching compound may perform better. If the crack has reopened before, embedding tape over the joint can add stability.
Use a putty knife and press the filler firmly into the crack, then skim off the excess. Keep the repair tight and flat. Heavy buildup creates more sanding and makes flashing more likely after painting.
If tape is needed, apply a thin base coat of compound, set the tape into it, then skim another light coat over the top. Keep the edges feathered.
Step 5: Let it dry fully, then sand lightly
Drying time depends on the product, room temperature, and humidity. Do not rush this part. If the surface feels cool or soft, it is not ready. Once dry, sand lightly with fine-grit sandpaper until the wall feels even to the touch.
Run your hand across the repair with your eyes closed if needed. You will often feel ridges that you cannot see yet. Those ridges become obvious after paint.
Step 6: Prime before painting
This is the step people most commonly skip, and it is the reason many patches flash through the finish. Bare filler absorbs paint differently than the surrounding painted wall. Without primer, the repaired spot can show as a dull patch, a shiny patch, or a texture mismatch even if the crack itself is gone.
Use a suitable primer over the repaired area and let it dry completely. If the wall has stains, moisture history, or uneven porosity, spot priming may not be enough and a broader prime coat can give a more uniform finish.
Step 7: Repaint for an even blend
If you still have the original paint and the wall is fairly new, you may get away with touching up the section. In many real homes, though, touch-ups stand out because paint fades, sheens shift, and roller texture never matches perfectly.
That is why professionals often repaint from corner to corner on the affected wall. It takes a little more time, but the result is cleaner and more predictable. If speed matters and you want the repair to disappear, this is usually the better call.
Tools and materials that make the job easier
You do not need a truckload of supplies, but the right set helps you move faster and get a cleaner finish. A utility knife, putty knife, filler, fine-grit sandpaper, primer, matching paint, and a microfiber cloth will handle most hairline crack repairs. If the crack sits on a seam, keep joint tape on hand.
For occupied homes, surface protection matters too. Dust control, floor covering, and clean edges around switches and trim are what separate a quick patch from a messy one. The repair itself may take minutes. Keeping the home disruption-free takes a system.
When patching hairline cracks in walls is not a DIY job
Some cracks look small but point to a bigger issue. If the crack keeps returning in the same place, runs diagonally from a window corner, appears with dampness, or comes with bubbling paint, it is worth getting the wall assessed before repainting.
The same applies to commercial spaces, newly renovated units on a deadline, or occupied homes where downtime matters. In those situations, the real value is not just filling the crack. It is getting the surface checked, patched, sealed, painted, and handed back clean without you coordinating multiple steps.
That is where a process-led painting contractor makes a difference. At Painting.com.sg, crack patching is handled as part of the full preparation workflow, not as an afterthought before paint goes on. That gives homeowners and property managers a better shot at a finish that stays neat, especially when time is tight and expectations are high.
Common mistakes that cause hairline cracks to show again
Most failed repairs come down to speed over method. Painting directly over a crack, using too much filler, sanding too aggressively, or skipping primer all create avoidable problems. So does patching over damp or unstable paint.
There is also a trade-off between a fast cosmetic fix and a more durable repair. If you just need the wall to look decent for a short period, a simple fill and touch-up may be enough. If you want a finish that holds through cleaning, humidity, and normal settling, proper prep and full-wall repainting are usually worth it.
Another common issue is choosing the wrong product. Hard fillers can crack again on slight movement lines, while overly flexible products may not sand or finish as cleanly on broad visible surfaces. It depends on the wall condition, the crack location, and the final paint sheen.
How to patch hairline cracks walls before a full repaint
If you are already planning to repaint the room, patch every visible crack before the first coat goes on. This is the most efficient time to do it because sanding dust, primer flashing, and texture blending can all be managed in one workflow.
Start with a proper walkthrough in daylight and artificial light. Mark all defects first. Patch them together, sand them together, prime them together, then paint the entire wall or room as needed. That sequence is faster than fixing one crack at a time after paint has already started.
For move-in schedules, rental turnovers, or office refreshes, this matters. A standardized prep-and-paint sequence reduces delays and gives you a cleaner final handover.
Hairline cracks are small, but they are one of the fastest ways to make a painted wall look unfinished. Fix the surface properly, and the paint can do its job. Rush the prep, and the crack usually wins.