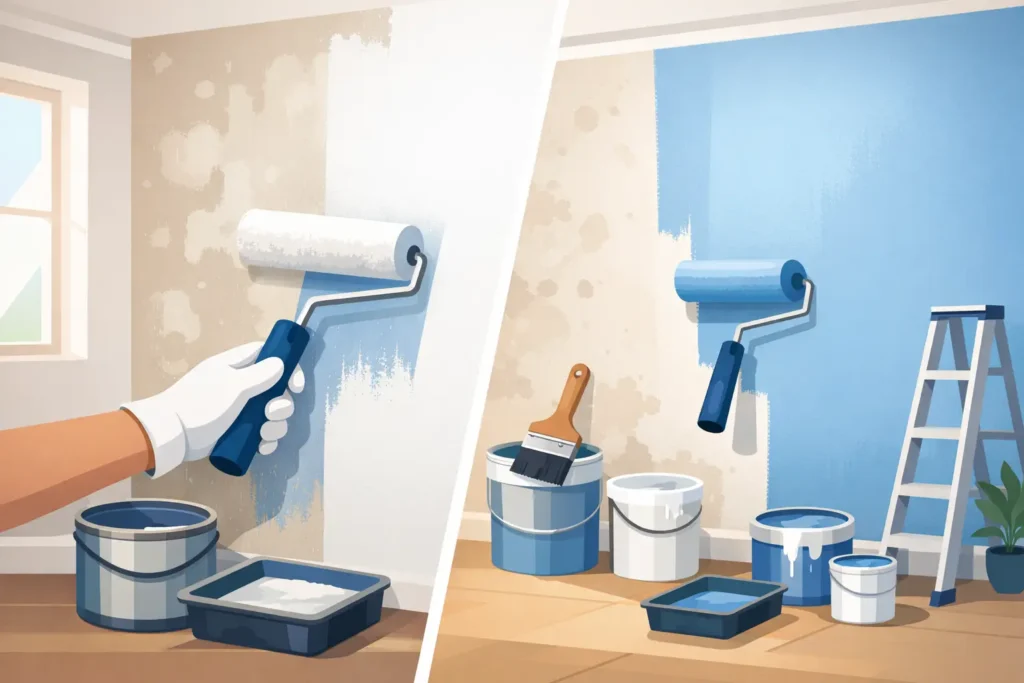
Fresh paint can look patchy, peel early, or soak into the wall unevenly for one simple reason – the surface underneath was never properly sealed.
If you’re asking, do I need sealer before painting walls, the short answer is: sometimes yes, sometimes no. It depends on what condition the wall is in, what was previously on it, and whether you want the new paint job to last or just look decent for a few months. The mistake many owners make is treating every wall the same. A clean, previously painted bedroom wall is not the same as a newly skim-coated wall, a water-damaged ceiling line, or a chalky old office partition.
When the prep is right, painting moves fast and the finish stays consistent. When the prep is skipped, the paint has to work harder than it was designed to.
Do I Need Sealer Before Painting Walls in Every Room?
No. You do not need sealer before painting every wall.
If the existing wall is in good condition, has an intact previous paint layer, and does not show stains, chalking, powdering, fresh patchwork, or major porosity, a sealer may not be necessary. In that case, cleaning, minor crack repair, and direct repainting with the right system can be enough.
But if the wall is new, repaired, porous, stained, flaky, or uneven in absorbency, sealer is usually the right call. It creates a more uniform surface, helps the topcoat bond better, and reduces the risk of flashing, uneven sheen, peeling, and wasted paint.
That is why professional painting is never just about opening a can and rolling color onto the wall. Surface diagnosis comes first.
What a Sealer Actually Does
A wall sealer is not there to make the wall look pretty. Its job is functional.
It penetrates and stabilizes porous surfaces. It reduces uneven paint absorption. It helps lock down loose or powdery material. It also gives the finishing coats a more controlled surface to grip onto.
Think of it this way: when a wall absorbs paint at different rates, the final coat dries unevenly. Some areas look dull, others shiny, and repaired spots can show through even if the color matches. A proper sealer helps even that out before the finishing paint goes on.
In many projects, sealer also improves efficiency. Without it, painters may need extra coats just to correct patchiness that could have been prevented in the first place.
When Sealer Is Usually Necessary
The clearest case is new plaster or newly skim-coated walls. These surfaces are highly porous, and if paint is applied directly, it can sink in unevenly and leave a blotchy finish. A sealer helps control that absorption.
Another common case is after crack repairs or patching. Even if only sections of the wall were repaired, those spots often absorb paint differently from the surrounding surface. Without sealing, the touch-up area can remain visible under certain lighting.
Water stains are another warning sign. If a wall has old moisture marks from leaks or condensation, a suitable sealer can help isolate the stained area before repainting. If this step is skipped, the discoloration may bleed back through the new coat.
Older walls with chalking or powdery residue also benefit from sealing. This often happens on aged paint films or surfaces exposed to humidity. If the wall sheds a fine dusty layer when touched, paint may not adhere properly until the surface is stabilized.
For commercial units, rental turnovers, and pre-move-in repaints, sealer is often worth doing because speed matters, but so does reducing callbacks. Fast completion only works when the paint system is built on a surface that will hold.
When You May Not Need It
If the wall is already painted, still sound, and has no major surface issues, sealer may be unnecessary.
For example, a standard bedroom or living room wall that is free from peeling, dampness, repairs, grease, or stains can often be repainted after proper cleaning and light prep. In these situations, the existing paint film is already acting as a stable base.
This is where experience matters. Some owners assume every repaint needs a sealer, while others assume none do. Both approaches can waste money. The right answer depends on whether the wall needs stabilization or just a new finish coat.
Sealer vs Primer – Not Always the Same Thing
People often use these words interchangeably, but they are not always identical.
A primer is generally designed to promote adhesion and prepare a surface for topcoats. A sealer is more focused on reducing porosity and creating a uniform substrate. Some products combine both functions, but not all do.
If you are painting over a difficult surface, such as stains, fresh repairs, or highly absorbent plaster, using the wrong product can leave you with adhesion problems or visible patching. This is why product selection should match the wall condition, not just the paint brand.
A proper contractor will assess the substrate first, then specify the correct prep system instead of applying a one-size-fits-all formula.
The Cost Question Most People Are Really Asking
When homeowners ask, do I need sealer before painting walls, they are often also asking whether this is an upsell.
Fair question.
Sometimes it is genuinely necessary. Sometimes it is not. The difference is whether the contractor can explain exactly why the wall needs it.
If a wall is new, repaired, stained, or porous, skipping sealer can create more expense later through extra coats, poor finish quality, or premature failure. In that case, sealing is not an add-on. It is part of doing the job properly.
If the wall is already stable and repaint-ready, adding sealer everywhere may not deliver real value. Good painting work is not about selling the most steps. It is about using the right steps.
A Practical Way to Decide
Here is the simple test: look at the wall, not just the room.
If you see patch repairs, uneven texture, water marks, fresh plaster, dusty residue, peeling edges, or surfaces that have never been painted before, sealing is likely the safer route. If the wall is intact and previously painted with no obvious problems, direct repainting may be enough.
A second clue is how the wall feels. If it feels chalky, dusty, or overly absorbent, the surface is not ready for finish coats alone. If it feels smooth, stable, and consistent, the existing substrate may already be sound.
The final clue is your goal. If this is a quick touch-up before short-term use, you might accept less than perfect substrate preparation. If you want a cleaner finish, stronger durability, and fewer issues after handover, prep matters more.
Why Professional Prep Saves Time, Not Just Quality
A lot of owners think prep slows the job down. Bad prep is what slows it down.
When the surface is correctly assessed from the start, the workflow becomes more predictable: protection, crack filling, patching, sanding, sealing where required, then topcoats. That sequence reduces rework, drying surprises, and finish inconsistencies.
This is especially important for occupied homes, office repaints, and tight turnaround projects. You want the job completed quickly, but you also want the result to hold after furniture goes back in and daily use resumes.
That is why a done-for-you contractor should be able to tell you, room by room, where sealer is needed and where it is not. At Painting.com.sg, that kind of assessment is part of making the job efficient without asking owners to manage the technical details themselves.
The Better Question to Ask Before Painting
Instead of only asking, do I need sealer before painting walls, ask this: what condition is my wall actually in, and what system will give me the best result with the least disruption?
That question gets you closer to a finish that looks even, lasts longer, and does not need fixing after the painters leave.
A good paint job is not just the final color on the wall. It is the prep underneath that nobody notices because everything came out right.